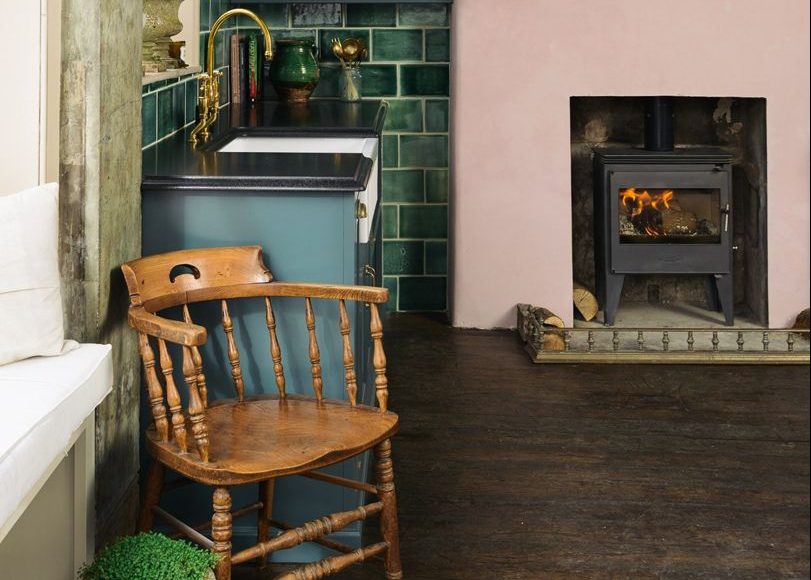
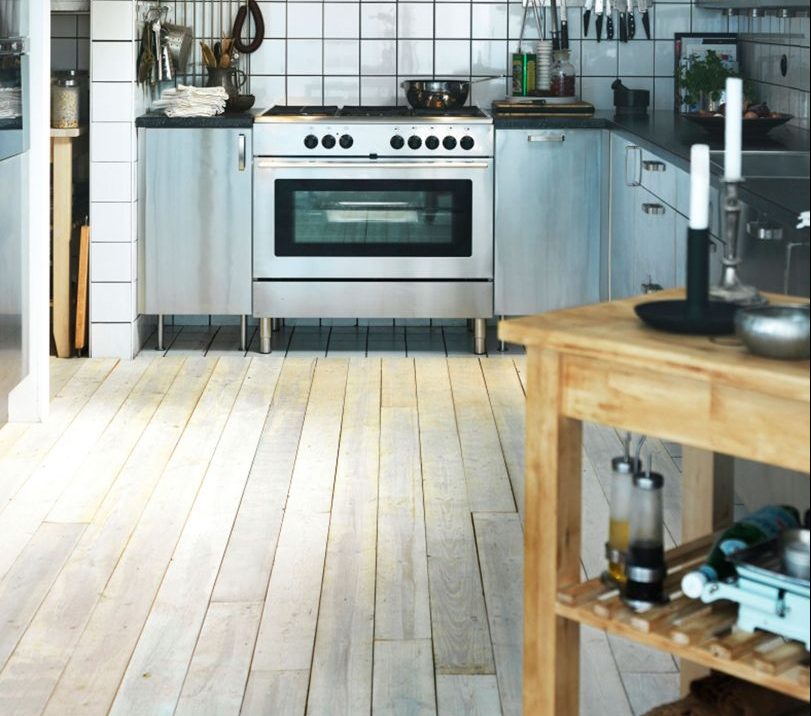
Wooden floors are a very popular flooring option nowadays. The appealing look of the natural material they’re cut from can fit in any modern interior design concept.
The hardwood floors are associated with warm and cosy atmospheres, which makes them a great asset for every home. Like the other options available on the market, wooden floors have both pros and cons.

Image Source
Even sealed with durable lacquers, their surface is still prone to a number of issues. You’re probably already familiar with many of them such as scratches, areas with outworn finish, and stains or dirt that can’t be removed easily.
The good news is that there is a answer to these problems – sanding the floor!
It’s not something new or revolutionary, but many people don’t seem to realise how great and renewed the wood flooring actually looks once its done.
It’s definitely fascinating and impressive to see right after the floors restored, especially when you compare it to a before picture of the same wooden flooring when the floor was aged and distressed.
This process reveals the initial beauty of the wood because under the finish it looks the same as it once did – like brand new!
There are many benefits to sanding a wooden floor – it will not only make the surface smooth but also improve the overall condition of the wood itself.
In most cases, the treatment consists of removing a thin top layer of the surface. The protective finish of your flooring works as an invisible barrier between the wood and the surrounding environment.
There are many factors that could cause problems such as high traffic, heavy footfall and improper maintenance routines. However, the wood could also be subject to a number of issues due to the effects of humidity, moisture and sun exposure.
In general, the smaller everyday imperfections such as scratches, dents, stains, and discoloration only usually affecting the finish, which means that by removing the finish with the help of a belt sanding machine will solve them all.
How To Achieve A Complete Transformation?

Image Source
After the sanding processes, you will have a blank canvas with many possibilities in front of you to choose from, then you can go for a new colour, as long as it is suitable for the pigmentation of the species of wood your floor is made of.
Once you’ve chosen the desired tones, you have a wide variety of sealants to choose from. If you desire a more natural look, then oils are what you’re looking for, as they soak into the wood and enhance the unique look of the grain.
On the other hand, you can choose a lacquer, that will create a protective film on the top of your flooring. Additional customisation tailored to your needs would then be achieved using a choice of sheen, here you can go for gloss, satin, matt or even extra matt.
Bear in mind that the scratches on glossy finishes will be more visible, which means if you have a pet maybe the better option in your case is matt.
With so many possible options, you can now hopefully envisage the many opportunities available to completely transform the look of your flooring.
The last but still an important question that many people ask is: Why should you not just apply the new stain over the old finish?
The answer is – you can’t! Modern wood stains don’t work like paints, they’re not able to penetrate the surface or cover it completely.
Usually, the professionals will prepare the floor via sanding before continuing with any further treatment. After using the sandpaper on the wooden flooring, the pores of the wood open up, which then enables the finish to soak in.
If you’ve decided to sand your wooden floors let us know in the comments below which finish you decided to go for. Our favourite at the moment would be a walnut coloured finish with a matt sheen.
Main Image Source
